How to Clean a Dryer Vent: Step-by-Step DIY Guide
Cleaning your dryer vent isn't just about removing the lint you can see behind the dryer.
Your dryer's exhaust vent carries hot, moist air from the appliance to the outside of your home. Lint that gets past the lint screen can gradually accumulate inside that vent, restricting airflow and making it harder for the dryer to exhaust properly.
The good news is that a short, accessible dryer vent can often be cleaned yourself with a dryer vent brush, vacuum and a little time.
This guide walks you through the process—and explains when a dryer vent is better left to a professional.
Before You Start: Is Your Dryer Vent a Good DIY Project?
First, figure out where your dryer vent goes.
Look behind the dryer for the exhaust duct, then locate where it exits the house.
A straightforward vent that travels a short distance through an exterior wall is usually much easier to clean yourself than one that:
- Travels a long distance through the house
- Has several bends
- Runs vertically through a wall or ceiling
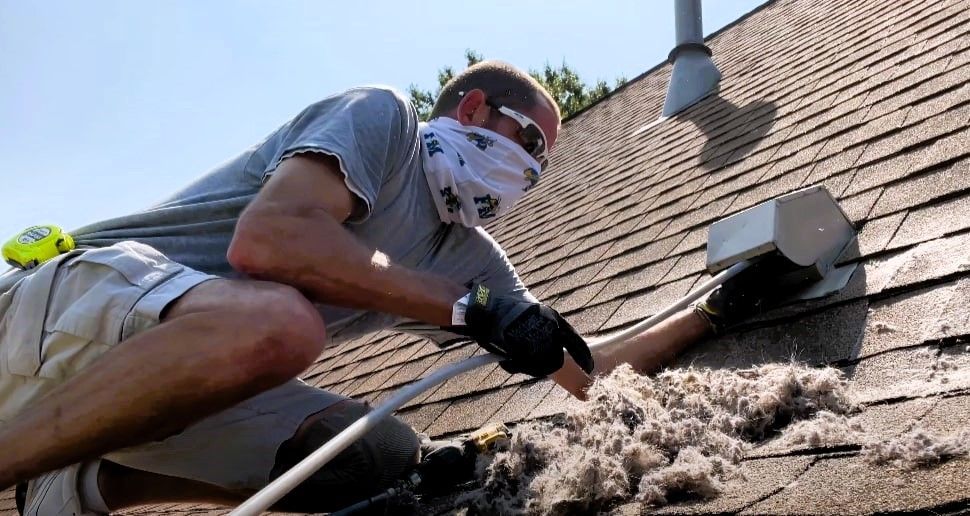
- Exits through the roof
- Is difficult to access from outside
- Has a blockage you can't reach
- Appears crushed, disconnected or damaged
If you can't determine where the vent goes or can't safely reach the entire vent path, professional cleaning may make more sense.

What You'll Need to Clean a Dryer Vent
For a basic DIY cleaning, gather:
- Dryer vent cleaning brush or flexible dryer vent cleaning kit
- Vacuum with a hose or crevice attachment
- Screwdriver or nut driver if needed for the vent clamp
- Work gloves
- Flashlight
A dryer vent cleaning kit with flexible extension rods can help you reach farther into the duct than a standard vacuum hose.
You may also want another person to help you move the dryer safely.
How to Clean a Dryer Vent
Step 1: Clean the Lint Screen
Start with the easiest part.
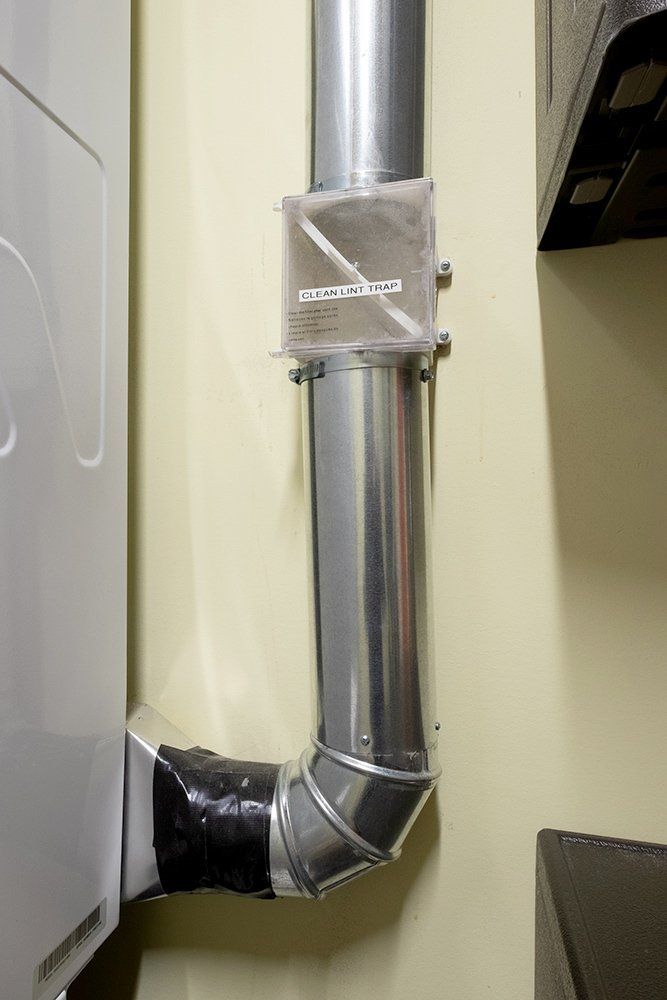
Remove the lint screen and clear away the lint. You can also use a vacuum with a crevice attachment to remove lint that has accumulated inside the lint-trap opening.
This should be part of your regular dryer maintenance even when you aren't cleaning the entire vent.
Step 2: Turn Off and Unplug the Dryer
Before moving the dryer or disconnecting anything, turn it off and unplug it from the electrical outlet.
If you have a gas dryer, be particularly careful around the gas connection. Follow the manufacturer's instructions for your appliance and don't attempt to disconnect or manipulate a gas line unless you know how to do so safely.
If you're uncomfortable working around a gas connection, have a qualified professional handle it.
Step 3: Carefully Move the Dryer Away From the Wall
With another person's help if necessary, pull the dryer forward far enough to reach the exhaust connection behind it.
Move slowly.
One thing you're trying to avoid is crushing, tearing or disconnecting the vent—or putting stress on a gas connection if you have a gas dryer.
This is also a good opportunity to vacuum lint and dust that has accumulated behind and underneath the appliance.
Step 4: Disconnect the Dryer Vent
The exhaust duct is usually secured to the dryer with a clamp or similar connection.
Loosen the clamp and carefully disconnect the duct from the back of the dryer.
Inspect what you can see.
If you find obvious lint buildup immediately inside the duct, there's a good chance more has accumulated farther along the vent.
Also inspect the visible duct for damage, crushing or loose connections.
Step 5: Vacuum the Accessible Lint
Use your vacuum hose or crevice attachment to remove loose lint from:
- The dryer exhaust outlet
- The disconnected vent
- The area surrounding the connection
- The lint-trap area if you haven't already cleaned it
Don't force a household vacuum hose deep into the duct if it doesn't fit easily.
The next step is designed to reach farther.
Step 6: Brush the Inside of the Dryer Vent
Insert a flexible dryer vent cleaning brush into the duct.
Work it gradually through the vent to loosen lint adhering to the inside.
If your cleaning kit uses flexible extension rods, add them as needed to reach farther into the duct.
Take your time around bends.
The goal is to loosen and remove lint—not damage or disconnect the ductwork inside the wall.
If the brush stops and you can't determine why, don't simply force it farther.
You may have encountered a sharp bend, a heavy blockage or a problem with the vent itself.
Step 7: Clean the Exterior Dryer Vent
Now go outside and find the exhaust opening.
Remove accumulated lint and debris from around the opening and vent hood.
If the vent cover can be safely opened or removed according to its design, use your brush and vacuum to clean the accessible duct from the exterior side as well.
Check the damper or flap while you're there. It should be able to open freely when the dryer is running.
Don't install a screen over the exhaust opening to catch lint. A screen can itself collect lint and restrict airflow.
Step 8: Reconnect the Dryer Vent
Once you've removed as much lint as you can reach, reconnect the exhaust duct securely to the dryer.
Before pushing the appliance back into position, check that the vent hasn't become:
- Crushed
- Kinked
- Disconnected
- Excessively compressed behind the dryer
Restricted or damaged venting can interfere with airflow even when the duct itself is clean.
Step 9: Move the Dryer Back Into Position
Carefully move the dryer back toward the wall.
Don't push it so far back that you crush the exhaust duct.
Reconnect power and, if applicable and properly handled, make sure any gas connection is returned to its correct operating condition according to the manufacturer's instructions.
Step 10: Test the Airflow
Run the dryer and go outside to the exhaust vent.
You should be able to see the exterior damper open and feel air exhausting from the vent.
Also pay attention during your next few loads.
Ask:
- Are clothes drying normally?
- Is the dryer becoming unusually hot?
- Is airflow coming from the exterior vent?
- Are you still getting an airflow warning from the dryer?
If the symptoms that prompted you to clean the vent haven't improved, there may still be a blockage—or the dryer itself may have another problem.
How Do You Know If You Actually Got the Vent Clean?
This is one of the limitations of DIY dryer vent cleaning.
Removing a pile of lint doesn't necessarily mean you've reached the entire vent.
For a short vent that goes directly through an exterior wall, reaching the full length may be relatively straightforward.
For a long or complicated vent, it's much harder to know.
After cleaning, look for:
Strong exterior airflow
The outside vent should open properly and exhaust air while the dryer runs.
Improved drying time
If restricted airflow was causing long drying cycles, you should notice an improvement.
Normal dryer temperature
The dryer and clothes shouldn't be becoming abnormally hot because exhaust air can't escape.
No remaining airflow warning
If your dryer has a vent or airflow warning system, see whether the warning returns.
If the dryer is still showing the same symptoms after you've cleaned everything you can reach, don't assume you just need to run the brush through again.
It's time to investigate further.
When Should You Call a Professional?
DIY cleaning makes sense when the vent is simple, accessible and you can confidently reach the full duct.
Professional dryer vent cleaning makes more sense when:
The Vent Is Long
A vent traveling a significant distance through the house can extend beyond the reach of basic DIY equipment.
The Vent Has Multiple Bends
Every turn makes the vent harder to clean thoroughly and creates another place where lint can accumulate.
The Dryer Vents Through the Roof
Climbing onto a roof isn't worth the risk just to save the cost of professional vent cleaning.
You Can't Find or Access the Exterior Vent
If you don't know where the duct terminates, it's difficult to verify that you've cleaned the entire system.
Your Brush Gets Stuck
Don't force it.
A stuck brush or extension rod can turn a maintenance project into a duct repair.
There's a Heavy Blockage
A dense lint clog may require more powerful or specialized equipment than a household brush and vacuum.
The Vent Is Damaged
Crushed, disconnected or improperly installed ductwork isn't something cleaning alone will fix.
The Problem Continues After Cleaning
If you've thoroughly cleaned the accessible vent and the dryer is still taking too long, running unusually hot or showing poor airflow, the remaining problem needs to be identified.
It could be a blockage you couldn't reach, a venting problem or an issue with the appliance itself.
How Do Professionals Clean Dryer Vents?
Professional equipment can clean a dryer vent differently from the basic brush-and-vacuum approach available to most homeowners.
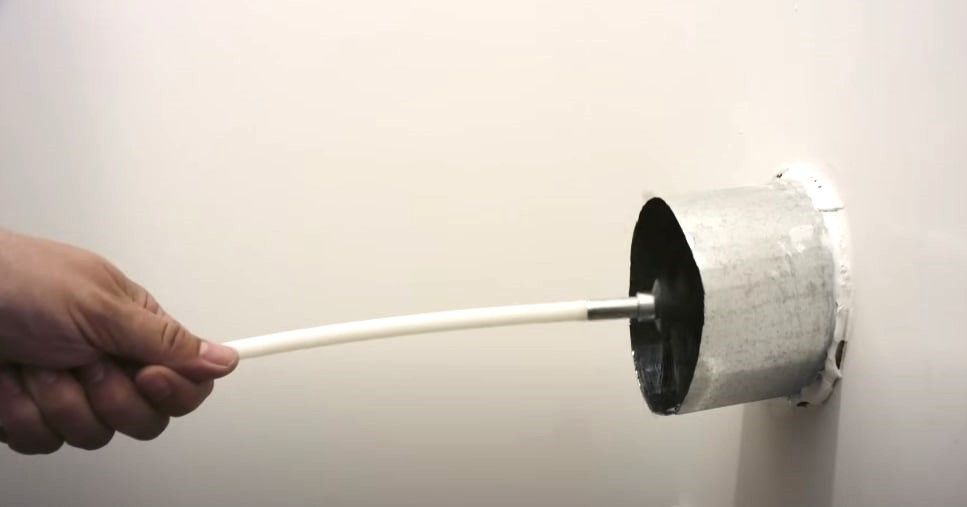
At Grand Rapids' Duct Cleaners, our technicians use a specialized reverse-air hose and high-powered compressed air to loosen lint and move it out of the vent.
For more stubborn buildup, we can use a rotating spin brush to break apart compacted material.
This is particularly useful when moisture has caused lint to stick together inside the vent or when the full vent path is difficult to reach with basic household equipment.
How Often Should You Clean a Dryer Vent?
There's no need to wait until the vent is completely clogged.
The U.S. Fire Administration recommends cleaning dryer vent ductwork annually, along with cleaning the lint filter every time the dryer is used.
How quickly your particular vent accumulates lint can vary based on:
- How frequently you use the dryer
- How much laundry you dry
- The length of the vent
- The number of bends in the duct
- How effectively the system exhausts outdoors
Pay attention to the dryer's performance between cleanings.
A noticeable increase in drying time or decrease in exterior airflow is a reason to inspect the system rather than simply waiting for your next scheduled cleaning.
Dryer Vent Maintenance Between Cleanings
A few simple habits can help keep the exhaust system working properly.
Clean the Lint Screen Every Load
Don't wait until it looks completely covered.
Remove accumulated lint before or after each drying cycle.
Check the Exterior Vent
Occasionally run the dryer and look at the exterior vent.
Make sure the damper opens and that lint, nests or other debris aren't obstructing the outlet.
Don't Ignore Longer Drying Times
If a normal load suddenly requires multiple cycles, something has changed.
Check the lint screen and vent system rather than simply accepting the longer drying time.
Inspect the Vent Behind the Dryer
Make sure the duct hasn't become crushed, kinked or disconnected.
Keep the Area Around the Dryer Clean
Lint can also accumulate behind and underneath the appliance, so include those areas in routine cleaning.
Why Dryer Vent Cleaning Is a Safety Issue
Lint isn't just inconvenient buildup. It's combustible.
According to the U.S. Fire Administration, failure to clean was the leading factor contributing to the ignition of home clothes-dryer fires from 2018–2020.
Keeping the lint screen, dryer and exhaust system clean is therefore about more than getting your clothes dry faster.
[READ OUR DRYER FIRE PREVENTION GUIDE]
Can You Clean a Dryer Vent Without Moving the Dryer?
You may be able to clean part of the vent from the exterior opening, particularly if the duct is short and accessible.
But that doesn't give you access to the dryer connection, the area behind the appliance or necessarily the entire vent.
For a thorough DIY cleaning, you generally want access to both ends.
If you can't safely move the dryer, hiring someone to clean the vent may be the better option.
Can You Use a Leaf Blower to Clean a Dryer Vent?
We don't recommend relying on a leaf blower as your dryer vent cleaning method.
Blowing air through the duct doesn't give you much control over stubborn lint attached to the vent walls, and it doesn't address damaged, disconnected or heavily obstructed venting.
A purpose-built dryer vent brush or professional cleaning equipment gives you a better way to physically remove accumulated material.
Can You Use a Shop Vacuum to Clean a Dryer Vent?
A shop vacuum can be useful for removing loose lint from accessible areas.
The limitation is reach.
If your vent travels only a short distance through an exterior wall, a vacuum and brush may get you quite far. If the vent travels through several feet of wall, ceiling or attic space, a vacuum hose by itself probably won't reach the entire system.
Think of the vacuum as one tool in the cleaning process, rather than proof that the whole vent is clean.
What If the Dryer Still Takes Too Long After Cleaning the Vent?
If you've cleaned the full vent and confirmed good airflow outside but clothes are still taking unusually long to dry, stop assuming the duct is the problem.
The dryer itself may need service.
That's actually useful information: you've eliminated restricted vent airflow as one likely cause and can investigate the appliance instead.
If you can't confirm that you've cleared the entire vent, however, a hidden blockage may still be present.
Need Help Cleaning a Dryer Vent in Grand Rapids?
If your dryer vent is long, difficult to reach or still seems restricted after DIY cleaning, Grand Rapids' Duct Cleaners can clean the system professionally.
Our technicians use specialized equipment designed to reach farther into the vent and remove accumulated lint and stubborn clogs.
Call 616-208-4445
[DRYER VENT CLEANING IN GRAND RAPIDS →]
Your Grand Rapids Duct Cleaners
Serving Grand Rapids and surrounding West Michigan communities

Grand Rapids Duct Cleaners
You might also like